Installing and maintaining a Goalrilla Basketball Hoop can be an intimidating task for many, but with the right tips and tricks, you can ensure that your hoop is properly installed and maintained. Here are some tips to help you get started.
Safety First
Safety should always be your top priority when installing a goalrilla basketball rim. Before beginning the installation process, make sure you have the appropriate safety equipment and that all necessary permits have been obtained. Additionally, make sure that the area you are installing the hoop in is level and free of any sharp objects or debris.
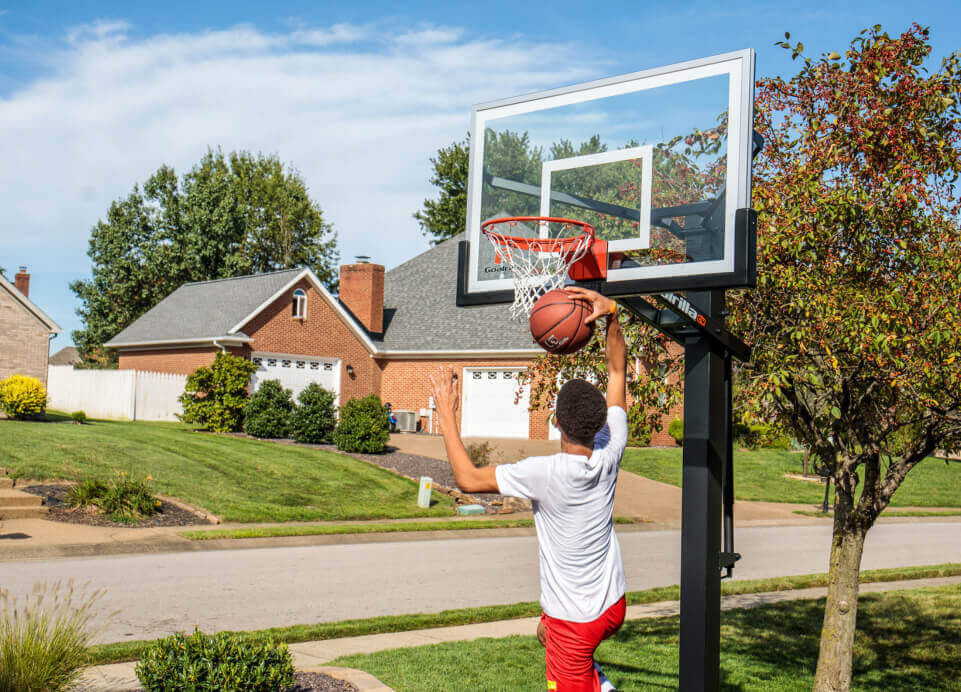
Image Source: Google
Read the Instructions Carefully
Installing a basketball hoop can be a complex process, so it’s important to read all of the instructions provided by Goalrilla carefully before beginning the process. This will ensure that your hoop is installed correctly and that it’s safe to use.
Choose the Right Location
When deciding where to install your hoop, it’s important to consider factors such as access to sunlight, wind, and other climate factors that can potentially affect the hoop’s performance. Additionally, take into account the amount of space available for the hoop, as larger hoops may require more space.
Maintenance Matters
After installing your basketball hoop, it’s important to regularly inspect it for any signs of wear and tear. Make sure to check the rim, net, and backboard for any signs of damage or corrosion. Additionally, inspect the frame and hardware of the hoop on a regular basis to make sure everything is secure.